

Closing the books in QuickBooks means reviewing every transaction for the month, reconciling your accounts, posting adjusting entries, and then setting a closing date so prior-period numbers cannot be changed without a password. It is a manual, checklist-driven process in both QuickBooks Online and QuickBooks Desktop. This guide walks through exactly how to do it, what the closing date actually protects (and what it doesn't), and where the process tends to break down.
What Does "Closing the Books" Mean in QuickBooks? (Closing Date vs. True Period Lock)
In QuickBooks, "closing the books" does not create a hard, system-enforced period lock the way some larger financial close platforms do. Instead, QuickBooks uses a Closing Date paired with an optional Closing Date Password. Once set, QuickBooks will warn any user who tries to add, edit, or delete a transaction dated on or before that closing date, and it will ask for the password before allowing the change to go through.
This is an important distinction to be honest about: the closing date is an edit deterrent, not an unbreakable control. A user with the closing date password (or an admin who can see or reset it) can still go back and change a transaction in a "closed" period. QuickBooks will log the change in the Audit Log, but it will not physically prevent the edit the way a true locked accounting period does in some enterprise close or ERP systems, where a closed period is unavailable for posting entirely.
For small businesses and solo bookkeepers, this level of protection is usually enough: it stops accidental backdated entries and creates a paper trail. For businesses with multiple people touching the books, or with external stakeholders relying on locked financials, it's worth understanding that QuickBooks' close is fundamentally a soft control built on user discipline and password management, not a hard system boundary.
QuickBooks Online vs. Desktop vs. Enterprise: Does the Close Process Differ?
The core idea is the same across all three products: reconcile, adjust, then set a closing date. But the terminology, menu paths, and some capabilities differ.
- QuickBooks Online (QBO): The feature is labeled "Close the books" and lives under Account and Settings. There is one closing date and one password per company file, and the setting applies to whoever is logged in, based on their user permissions.
- QuickBooks Desktop: The feature is labeled "Close the books" as well, but it's set through Preferences rather than Account and Settings, and Desktop additionally supports the Accountant's Copy workflow, which uses a Dividing Date instead of a closing date when an accountant is working on the file separately from the bookkeeper.
- QuickBooks Enterprise: Enterprise uses the same Desktop-style closing date and password mechanism, but adds more granular user permissions, so an admin can restrict which specific users are allowed to enter or edit transactions before the closing date, even if they know the password. This is useful for larger teams where multiple people have QuickBooks access but only a controller or accounting manager should be able to touch closed periods.
None of the three editions offer a true system-enforced period lock across the whole company file the way multi-entity ERP or dedicated close platforms do. The difference between editions is mostly about who can override the close and how tightly that's controlled, not whether the close itself is harder to break.
How to Review and Reconcile Your Accounts Before Closing the Books (Step by Step)
Setting a closing date is the last step of month-end close, not the first. Before you touch that setting, work through this review sequence.
- Record all monthly income. Confirm every invoice, sales receipt, and deposit for the month is entered and categorized to the correct income account in the Chart of Accounts.
- Enter all vendor bills. Make sure every bill received for the month is recorded, even if it hasn't been paid yet, so expenses are matched to the right period.
- Post payroll expenses. Confirm payroll runs for the month are recorded, including employer taxes and any benefits accruals, so labor cost hits the correct month.
- Reconcile bank and credit card statements. Use QuickBooks' built-in reconcile tool (Bookkeeping or Accounting menu > Reconcile) for every bank and credit card account. Match the statement ending balance to the QuickBooks balance and clear any outstanding items.
- Verify AR and AP reports tie to the balance sheet. Run an Accounts Receivable Aging Summary and Accounts Payable Aging Summary and confirm the totals match the AR and AP balances shown on the Balance Sheet as of the same date.
- Post routine adjusting entries. Record depreciation, accrued expenses not yet billed, and prepaid expense amortization for the month through journal entries.
- Review the trial balance for anomalies. Scan for negative balances in accounts that shouldn't be negative, unusually large or round-number entries, and anything posted to a suspense or uncategorized account.
Only after these steps are complete and the financials look correct should you move on to setting the closing date.
How to Lock the Period in QuickBooks Online (Step by Step)
QuickBooks Online calls this feature Lock Your Books, configured through the "Close the books" setting.
- Click the Settings gear icon in the top right.
- Select Account and Settings.
- Go to the Advanced tab.
- In the Accounting section, click Edit (the pencil icon).
- Check the box for Close the books.
- Enter the month-end date in the Closing Date field (for example, the last day of the month you just finished).
- Choose whether users can make changes to closed periods: select the option to allow changes after warning, then enter a Closing Date Password so any edit before the closing date requires that password.
- Click Save.
- Click Done to exit Account and Settings.
From this point forward, anyone (including admins) who tries to add or edit a transaction dated on or before the closing date will see a warning and must enter the password to proceed.
How to Lock the Period in QuickBooks Desktop (Step by Step)
QuickBooks Desktop uses the same underlying concept, labeled Close Your Books, but the path runs through Preferences.
- Open the Edit menu.
- Select Preferences.
- Choose Accounting from the left-hand list.
- Click the Company Preferences tab (this requires admin access, and you may need to be in single-user mode).
- Click Set Date/Password.
- Enter the month-end Closing Date.
- Enter a Closing Date Password.
- Click OK to confirm the password, then OK again to save preferences.
QuickBooks Enterprise follows this same path, with the added option to fine-tune, per user, whether that person can enter or modify transactions dated before the closing date under the Users and Roles permissions area.
What Happens After You Set a Closing Date?
Once a closing date is in place:
- Any attempt to add, edit, void, or delete a transaction dated on or before the closing date triggers a warning message.
- If a password is set, QuickBooks requires it before the change is saved.
- The change, once made, is recorded in the Audit Log (QBO) or Audit Trail (Desktop), showing who made the edit and when.
- Reports run for the closed period may shift slightly if someone does override the password and post a change, which is why the audit log is worth checking periodically rather than assuming the closing date alone guarantees stability.
- New transactions dated after the closing date are entered normally with no warnings.
It's worth repeating: the closing date does not stop entry into a closed period, it only requires a deliberate override. Treat the password as a control you manage carefully, not as an absolute lock.
How to Edit or Unlock Closed Books in QuickBooks
There are two ways to make a change after the books are closed.
- Edit the transaction directly. Open the transaction, make the change, and when prompted enter the Closing Date Password. QuickBooks posts the change and logs it in the Audit Log.
- Temporarily move or remove the closing date. Go back to the same settings screen used to set the closing date (Account and Settings > Advanced in QBO, or Edit > Preferences > Accounting > Company Preferences in Desktop), change the date to an earlier point or clear it, make the needed edits, then reset the closing date back to the correct month-end date afterward.
Whichever method you use, document why the change was made. If your business is audited or reviewed by external accountants, a documented list of post-close adjustments and their reasons will save time and reduce questions about the integrity of the reported numbers.
What Are Common QuickBooks Month-End Close Errors, and How Do You Fix Them?
- Unreconciled bank or credit card accounts. Run the reconciliation report for each account before closing and confirm the difference is zero. An unreconciled account almost always means a missing or duplicate transaction.
- Uncategorized transactions sitting in "Ask My Accountant" or Uncategorized Income/Expense. Review these accounts specifically each month and reclassify every entry before closing.
- Missing depreciation or accrual entries. If a fixed asset schedule or accrual list is not maintained separately, these entries get forgotten. Keep a recurring journal entry template so they're not missed.
- AR/AP aging not matching the balance sheet. This usually means a payment was applied incorrectly, an invoice or bill was voided instead of properly credited, or a transaction was dated outside the reporting period. Run the aging detail report and trace the mismatch line by line.
- Closing date password shared too broadly. If every user in the company knows the password, the control provides little protection. Limit who has it, and in Enterprise, use role-based permissions instead of relying on the password alone.
- Forgetting to reset the closing date after a correction. If the date was moved back to fix something, it's easy to forget to move it forward again, leaving the current month unprotected.
What Are the Best Practices to Speed Up and Control Your QuickBooks Month-End Close?
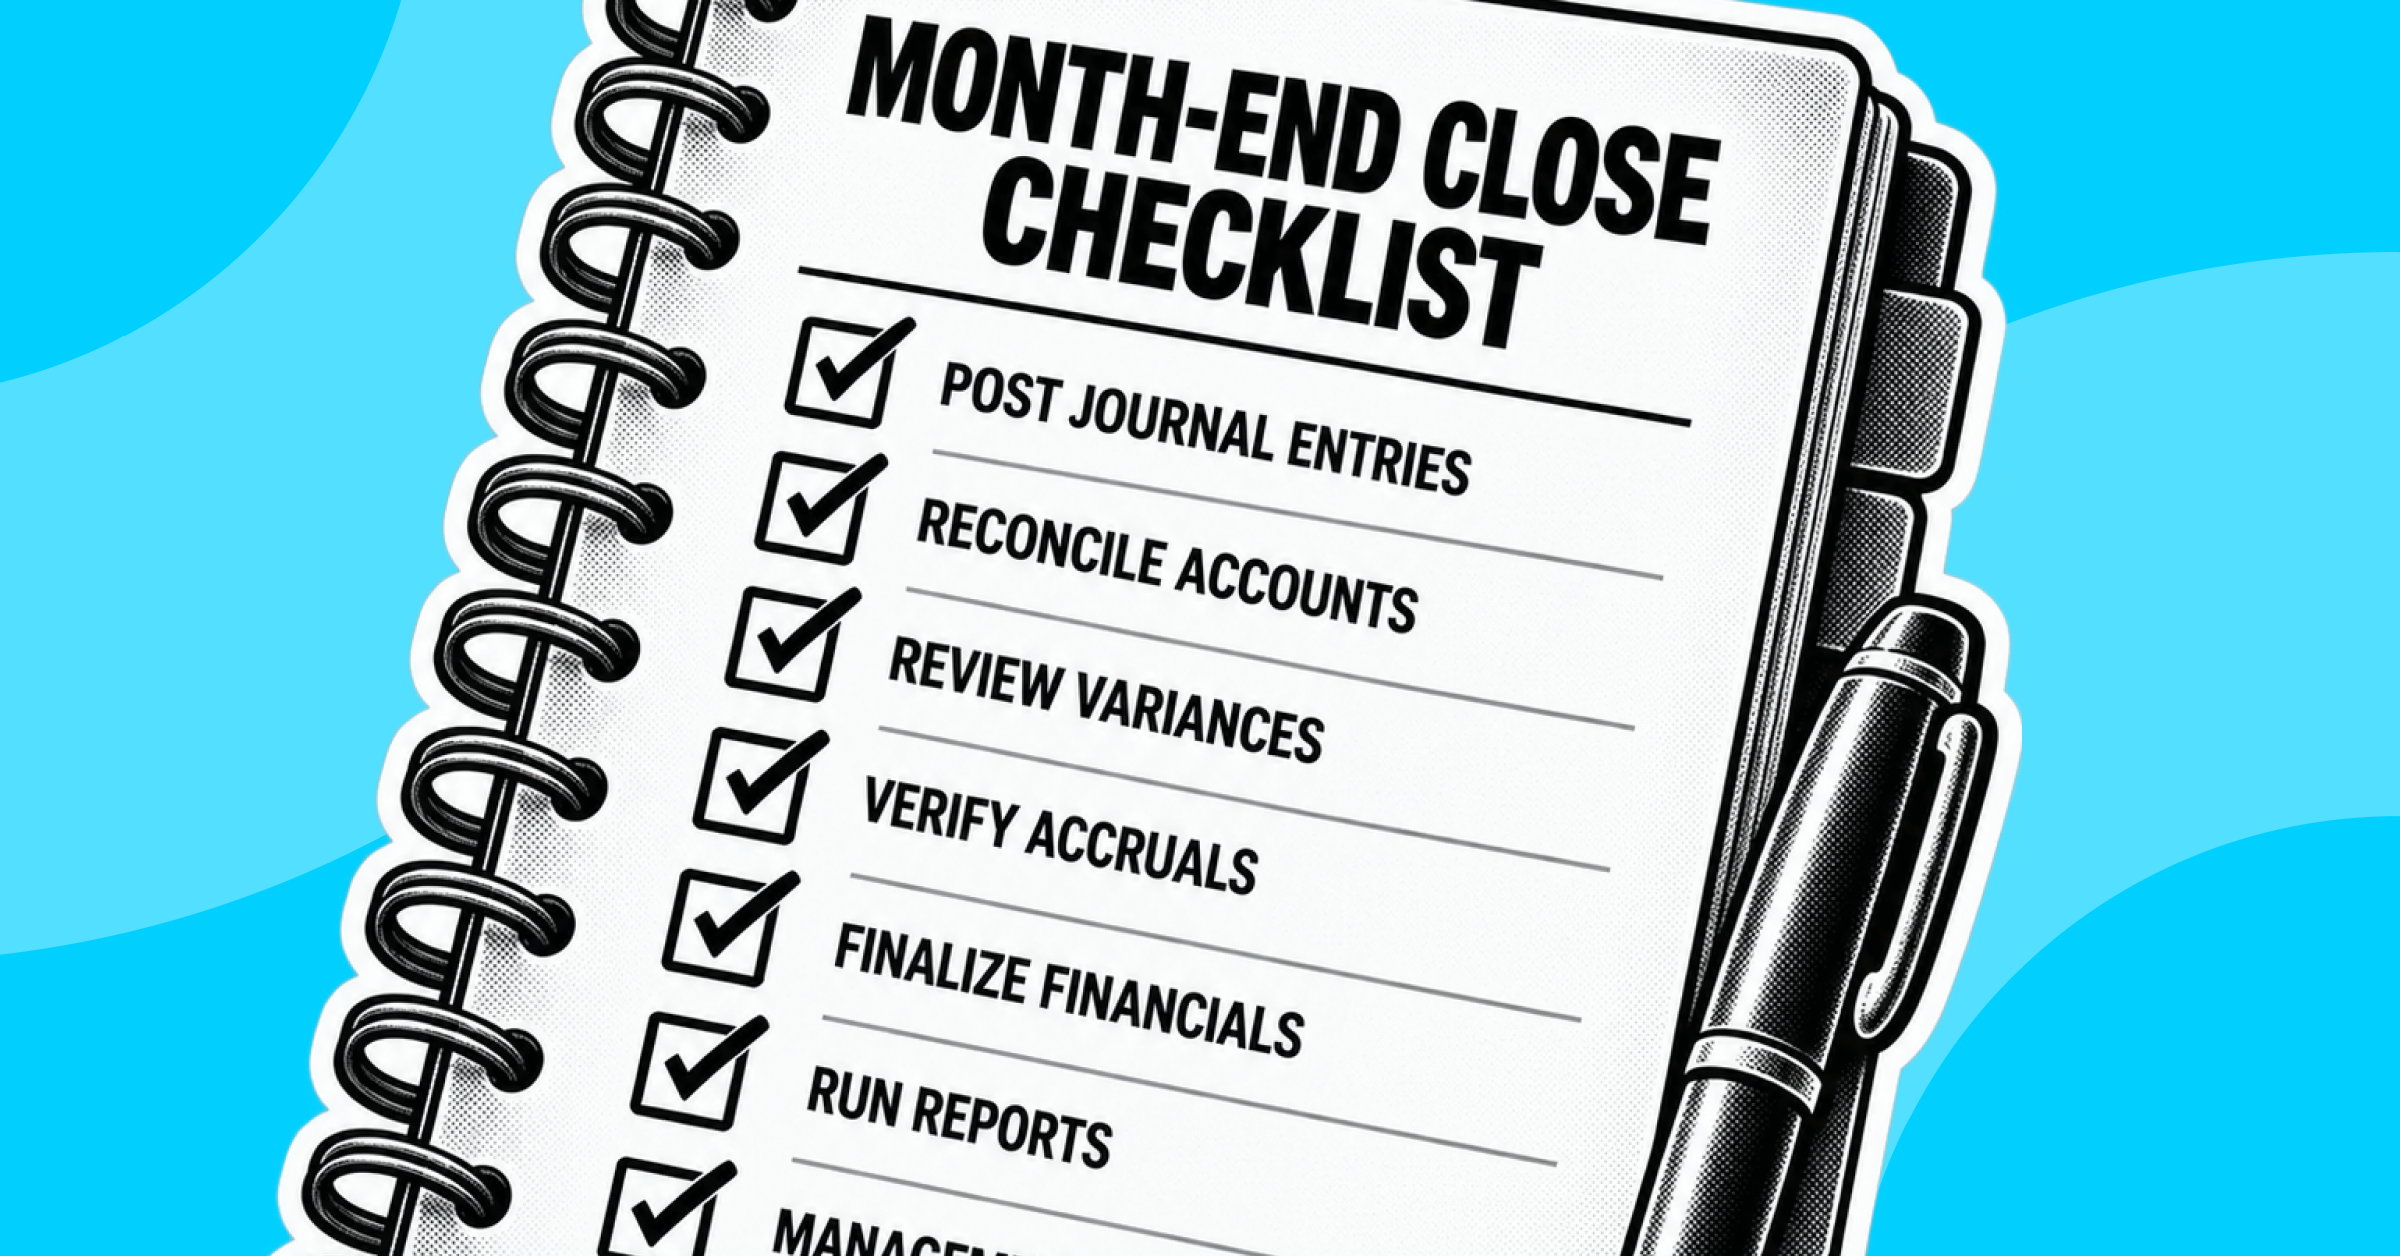
- Use a written month-end close checklist covering income, bills, payroll, reconciliations, adjusting entries, and the closing date step, so nothing depends on memory.
- Reconcile weekly, not just monthly. Waiting until month-end to reconcile a full month of bank activity creates a backlog. Reconciling weekly keeps the list of unmatched items small.
- Set a recurring calendar reminder for the closing date update so it's applied consistently, on the same schedule, every month.
- Restrict who has the Closing Date Password to one or two people, typically the bookkeeper and the controller or business owner.
- Review the Audit Log monthly for any changes made to transactions after a closing date was in place, even if you're the only one with the password.
- Standardize the Chart of Accounts so income and expenses are categorized consistently month over month, which makes variance review faster and reduces reclassification work at close.
- Keep a running adjusting entries template for recurring items like depreciation and prepaid amortization so they're generated the same way every period instead of recalculated from scratch.
When Do You Outgrow QuickBooks for Month-End Close?
QuickBooks handles month-end close well for a single entity with a manageable transaction volume and a small accounting team. The friction usually starts to show up as the business adds complexity: multiple entities or subsidiaries, intercompany transactions, a higher volume of bank and card accounts to reconcile, or more people who need visibility into close status without being able to touch closed periods.
At that point, the closing date and password mechanism described above starts to feel thin. There's no built-in way to track close task status across a team, no workflow for review and sign-off, and no continuous reconciliation across dozens of accounts and entities at once, it's still one date field and one password for the whole company file.
This is where dedicated financial close and reconciliation platforms take over the job QuickBooks was never built for. Bluecopa, for example, is an AI-native finance operations platform built for enterprise finance teams and Global Capability Centers running continuous close, multi-entity reconciliation, and controls across a much larger transaction footprint than QuickBooks is designed to support. It's not a fit for a QuickBooks-sized business, but it's worth knowing this category exists once the manual close checklist stops scaling with the business.
FAQ
1. What is the closing date password in QuickBooks?
It's an optional password tied to the closing date setting. Once set, anyone trying to add, edit, or delete a transaction dated on or before the closing date must enter this password before QuickBooks will save the change.
2. How do I exclude changes before the closing date in QuickBooks?
You can't fully exclude changes, QuickBooks will always allow an override with the correct password. What you can do is require the password for every edit before the closing date (rather than allowing changes without warning) and, in Enterprise, restrict specific users from editing transactions in closed periods regardless of whether they know the password.
3. How do I close the books in QuickBooks Online specifically?
Go to Settings > Account and Settings > Advanced tab > Accounting section, click Edit, check "Close the books," enter the closing date and password, then click Save and Done. This is the QBO-specific version of the process; QuickBooks Desktop uses a different menu path through Edit > Preferences.
4. Can I still edit a transaction after QuickBooks closing books?
Yes. QuickBooks will show a warning and, if a password is set, require it before the edit is saved. The change will then appear in the Audit Log. The closing date deters edits, it doesn't prevent them outright.
5. What's the difference between QuickBooks month-end close and year-end close?
The mechanics are the same, a closing date and password, but year-end close typically involves additional steps: reviewing the full year's trial balance, confirming 1099 vendor totals, reviewing fixed asset and depreciation schedules for the full year, and coordinating with a tax accountant before setting the final closing date for the fiscal year.
6. Does QuickBooks support an Accountant's Copy for month-end close?
QuickBooks Desktop supports an Accountant's Copy workflow using a dividing date, which lets an accountant work on transactions dated on or before that date while the business continues entering current transactions, then merges the accountant's changes back in. This is separate from the closing date and password feature and is specific to Desktop, not QuickBooks Online.